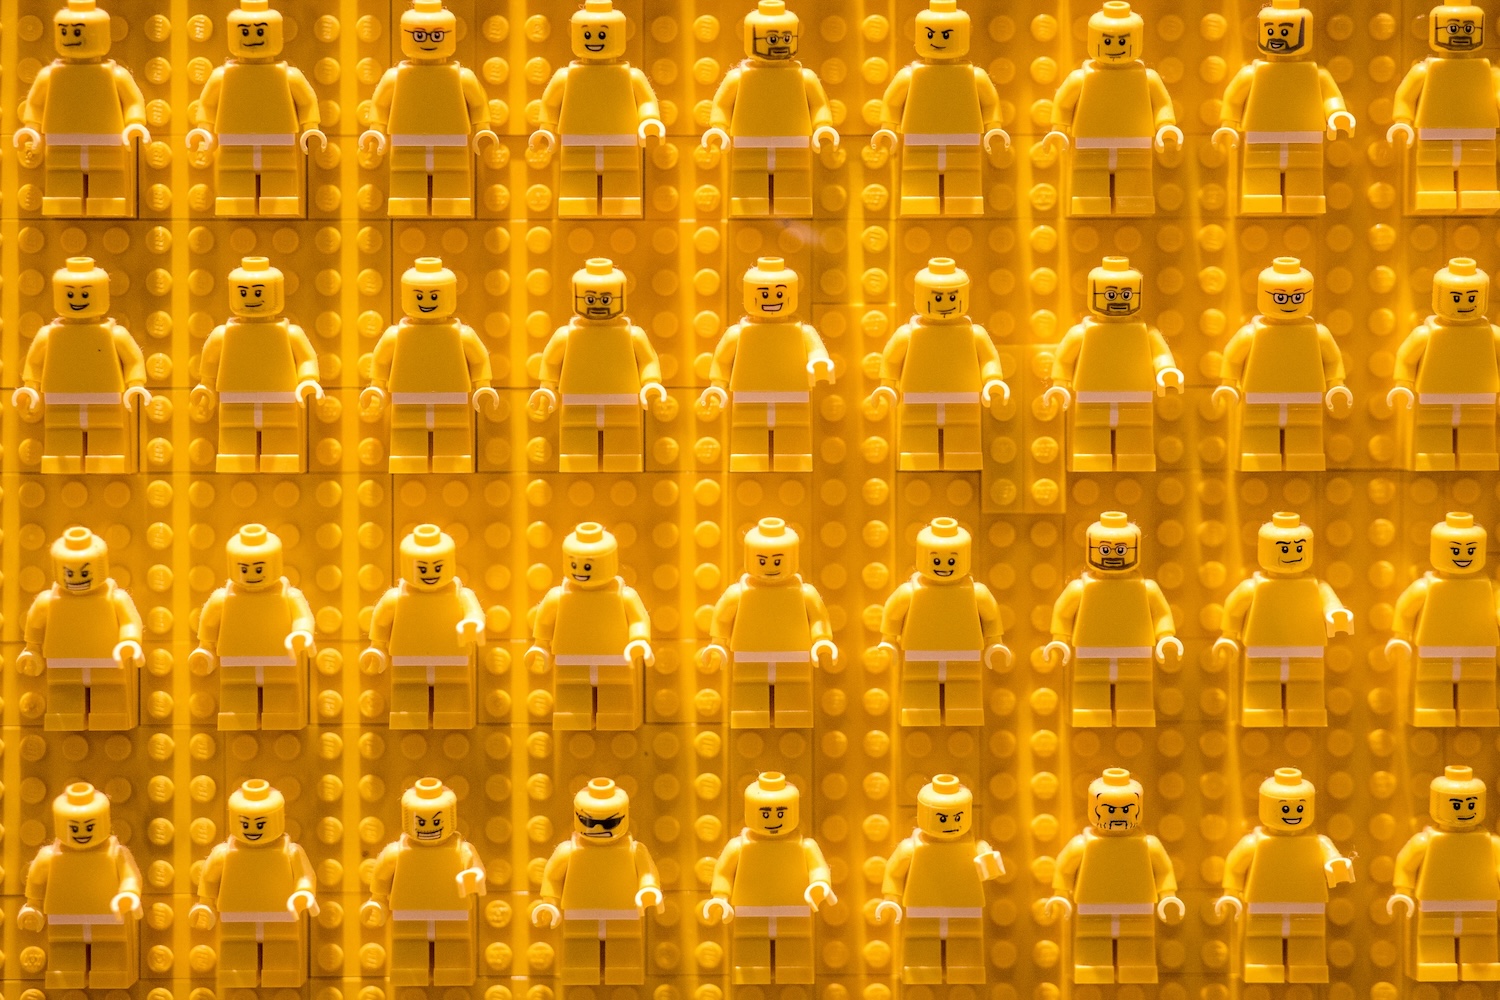
From Collectible to Custom: Exploring the World of LEGO Minifigure Customization
Welcome to a world where your favorite custom LEGO minifigures bring a personal touch to your LEGO collection!
In this article, we dive into the world of LEGO minifigure customization, where collectors and enthusiasts unleash their creativity to transform these beloved little figures into unique works of art.
From swapping hairpieces and accessories to painting intricate details, the possibilities are endless. Whether you’re a passionate collector or simply looking to add a personal touch to your LEGO collection, the world of custom minifigures offers a multitude of options.
Want to explore decal application? Check out how your custom designs can be printed and applied to minifigure torsos, creating characters that reflect your own style and interests.
What about sculpting? Join talented hobbyists and artists to skillfully shape and mold custom parts, breathing new life into each iconic LEGO character.
Join us on this journey as we uncover the techniques, trends, and incredible creations within the world of LEGO minifigure customization.
Why customize LEGO minifigures?
LEGO minifigures have come a long way since their introduction in 1978. Originally, LEGO sets focused on building structures and vehicles, with no dedicated characters to bring the creations to life. However, the introduction of minifigures revolutionized the LEGO world, allowing builders to populate their LEGO cities and stories with tiny, poseable figures.
Over the years, LEGO has released thousands of different minifigures, each with its own unique designs and accessories. From classic themes like space and pirates to licensed sets based on popular movies and TV shows, there is a minifigure for every interest and imagination.
While LEGO offers an incredible variety of minifigures, customization allows enthusiasts to take their collections to the next level. Customizing LEGO minifigures brings your creativity to life.
Custom minifigs allow you to personalize your scenes and create characters that reflect your interests, hobbies, or even your own likeness, adding a personal touch to your LEGO collection.
Swapping hair, accessories, and body parts for LEGO minifigure customization
Looking to create personalized minifigs using just accessories, hair, and body swaps? You’ll want to look to LEGO’s Pick a Brick Service and select “Minifigure Accessories” and/or “Minifiguer Parts” to get your search started.
Prices for each part range between $0.05 and $1.00, depending on rarity.
Arm your pirate with a mini flintlock pistol, mini short sword, and Head #2949! If you’re building a minifigure for someone with a special interest, add your keyword to the search box and create your new collectible.
Tools and materials needed for LEGO minifigure customization
If you’re ready to go a little deeper into the custom LEGO minifigure world, creating characters who fit your specific storyline or theme, you’ll want to gather the following materials after choosing which minifigure you’ll customize.
1. X-Acto Knife: A sharp knife with a thin blade is essential for precision work, such as removing or modifying minifigure accessories.
2. Paints and Brushes: Acrylic paints in various colors and a set of small paintbrushes are essential for adding custom details to minifigures. (You can usually find these at your local hobby shop or craft store.)
3. Decals and Waterslide Paper: If you’re interested in decal application, you’ll need waterslide decal paper, a printer, and clear coat spray to protect the finished decals.
4. Sculpting Clay: For those interested in sculpting custom parts, a high-quality sculpting clay. (We love polymer clay for its ease of use in creating tiny shapes and the sculptures’ durability once baked. Our favorite brands are Sculpey and Fimo.)
5. Sealant: A sealant or clear coat spray is essential for protecting the painted or decal-applied surfaces of custom minifigures.
Advanced techniques for LEGO minifigure customization
Now that you have your tools and materials ready, it’s time to dive into the process of customizing LEGO minifigures. Here’s a step-by-step guide to help you get started:
- Choose Your Minifigure: Select a minifigure that you want to customize; consider the character’s existing design and how you want to modify it to suit your purpose or theme.
- Plan Your Design: Sketch out your design ideas before making any modifications, including details about colors and accessories.
- Disassemble the Minifigure: Carefully disassemble the minifigure by removing the head, hair, accessories, and any other removable parts.
- Modify the Minifigure: This is where you can let your creativity shine. Swap out hairpieces and accessories, or even modify the minifigure’s body parts using sculpting clay or other materials. If you have access to a 3D printer, hop into your digital design software to create custom parts or accessories and then bring them to life.
- Paint or Apply Decals: Use acrylic paints or apply custom decals to add unique designs and details to your minifigure, patiently taking your time to ensure precision.
- Protect and Reassemble: Once you’re satisfied with your customization, apply a sealant or clear coat spray to protect the painted or decal-applied surfaces. Then, reassemble the minifigure with its modified parts.
Remember, practice makes perfect. Don’t be discouraged if your first attempts don’t turn out exactly how you envisioned. Experimentation and learning from mistakes are part of the creative process!
LEGO minifigure customization communities and resources
To inspire your own custom creations, take a look at some unique and impressive custom LEGO minifigures created by talented builders and artists. Custom minifigures might include superhero mashups, family trees, pop culture icons, historical figures, fantasy and sci-fi creatures, and beyond.
